Asana Saved View Tabs: What They Are and How to Master Them
- Richard Sather

- Feb 13, 2025
- 3 min read
Updated: Apr 17, 2025
Asana has rolled out one of the biggest game-changers yet - Saved View Tabs! 🎉
For years, teams have wanted to customize project views:
“Can we remove the Board view?”
“We don’t use Messages in Asana—can we hide it?”
“Can I rename the List view?”
Until now, the answer was always no. But thanks to Saved View Tabs, you can rename, rearrange, remove, and customize your project views to suit your workflow. Best of all, you can create multiple views of the same type, such as different List views with unique filters and sorts.
In this guide, I’ll show you how to master Asana’s Saved View Tabs to optimize your workflow, reduce clutter, and improve efficiency.
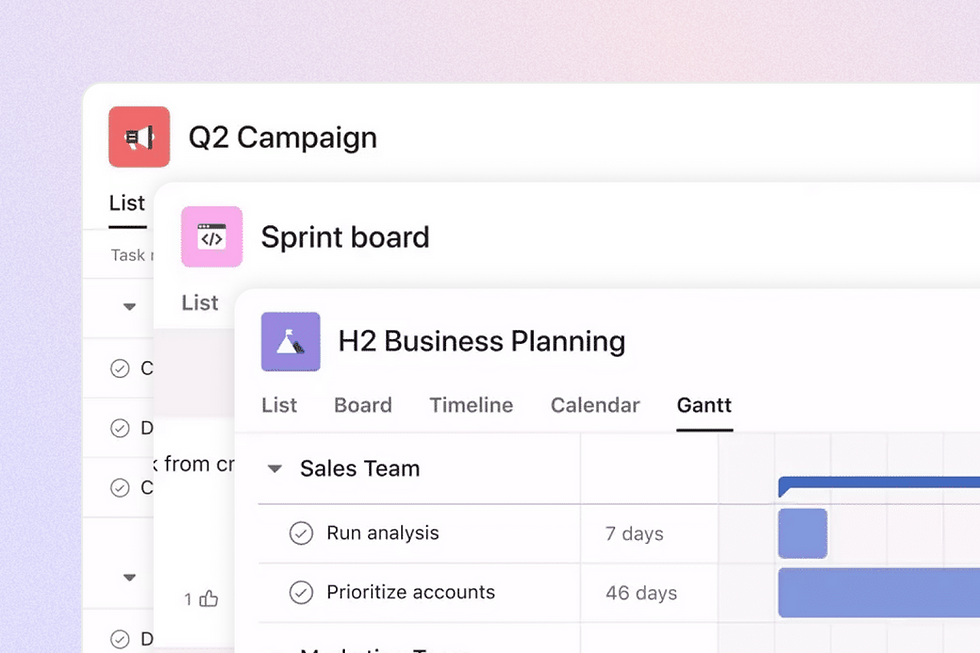
What Are Asana Saved View Tabs?
Saved View Tabs let you:
✅ Rename tabs to match your workflow (yes, you can add emojis too! 🌟)
✅ Remove unused tabs (like Board, Messages, or Files if they aren’t relevant)
✅ Create multiple views of the same type (e.g., multiple List views with different filters)
✅ Save filter, sort, and column settings per tab
These features make project navigation easier and ensure your team sees the right information at the right time.
5 steps to understanding how saved tab views work
1. Master the Filter, Sort & Hide Buttons
Filter: Show only relevant tasks (e.g., incomplete tasks, assigned tasks).
Sort: Organize tasks by Due Date, Priority, or any custom field.
Hide: Display or hide metadata like Projects, Created by, Created on, and Custom Fields.
Rearrange Columns: Adjust column order by dragging headers in List view.

2. Save Your Custom View
Once you’ve filtered and sorted your project, remember to save it:
Click "Save" in the top-right corner.
Choose "Save for Everyone" to make it the default view.
If you don’t save, your changes will be lost!

3. Copy Tabs Instead of Creating From Scratch
Instead of building each tab manually, duplicate an existing tab, tweak it, and save it as a new view. This saves time and keeps formatting consistent.

4. Rename & Customize Your Tabs
Click on a tab name to rename it.
Add emojis to replace Asana’s default icons.
Example: Rename "List" to 🚀 Sprint Tasks or "Board" to 📌 Kanban View.

5. Remove Unnecessary Tabs
If your team doesn’t use Messages, Workflow, or Files, remove them! You can always re-add them later if needed.

Things to Know About Saved View Tabs
✔️ You can have up to 50 tabs (including multiple List or Board views).
✔️ Every project must have at least one List view.
✔️ You can’t rename or copy the Overview, Messages, or Files tabs.
✔️ You can set any tab as the default view, except for Messages & Files.
✔️ Keep tab names short—Asana truncates them after ~20-25 characters.
✔️ Right-click a tab for quick actions like Rename or Make a Copy.
Conclusion
With Saved View Tabs, Asana finally lets you customize your project views the way you need them. By removing clutter, renaming tabs, and creating multiple views with smart filters, you can optimize your workflow and boost efficiency.
How are you using Saved View Tabs in your projects? Let me know in the comments! 😊
P.S. This blog post is adapted from a Asana Forum post I originally shared here. If you’re active in the community, feel free to join the conversation there too!


Comments