How Asana Saved View Tabs Can Optimize an Intake Request Workflow
- Richard Sather

- Feb 17, 2025
- 4 min read

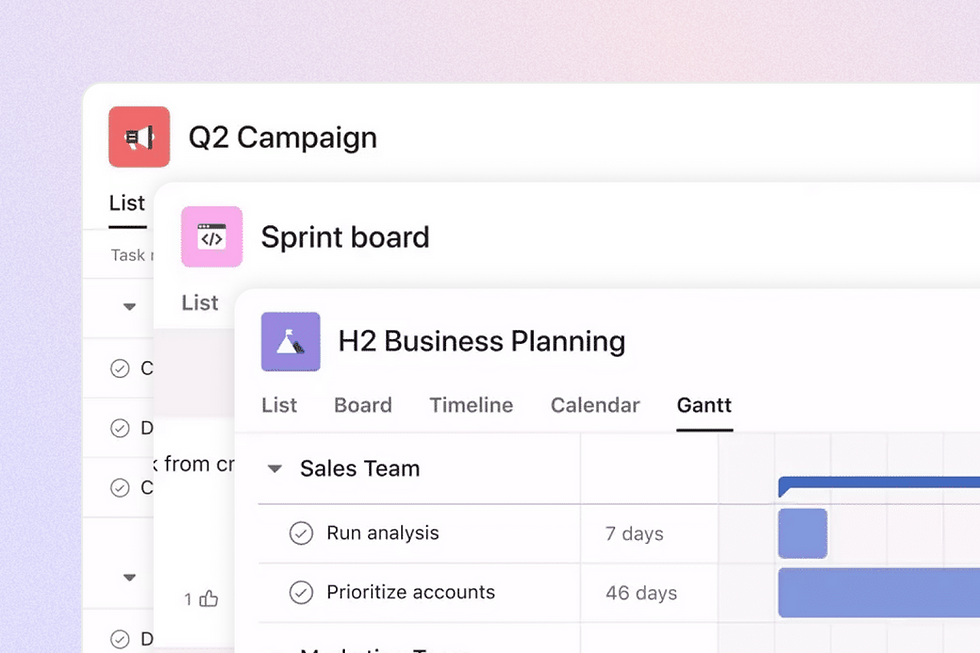
Introduction: What Are Asana Saved View Tabs?
I recently wrote a full blog post explaining what Asana Saved View Tabs are and how to use them. If you haven’t read it yet, I recommend checking it out first—it covers how these tabs let you pin filtered, sorted, and customized views to the top of your project for quick access.
To showcase how powerful they can be, this post walks through a practical example setup that works perfectly for structured workflows like:
Intake requests (HR requests, IT support, creative briefs)
Tickets (customer support, bug tracking, help desk)
Content production (blog posts, newsletters, social media)
Event planning (campaigns, webinars, internal events)
In these workflows, new requests are constantly coming in - they need to be triaged, assigned, tracked, and completed. Instead of manually adjusting filters every time, Saved View Tabs let you create predefined views that surface the right tasks instantly.
Here’s how you can set up Asana Saved View Tabs to streamline an intake request workflow 👇
Step 1: Create a ‘📥 New Requests’ Tab

Purpose: Quickly access newly submitted requests to ensure they get reviewed and assigned.
How to set it up:
Duplicate the default List view
Rename it to "📥 New Requests"
Apply these filters:
Filter: Show Incomplete tasks
Filter: Created On = This Week
Apply sorting & formatting:
Sort By: Created On (Descending) → Newest requests at the top.
Show Columns: Enable ‘Created By’ to see who submitted the request
Save for Everyone
Why it works: New requests don’t get buried in the main task list, making intake management seamless.
Step 2: Create a ‘▶️ To-Do’ Tab (Main Work Queue)

Purpose: Organize and track all active requests that need action.
How to set it up:
Duplicate the default List view
Rename it to "▶️ To-Do"
Apply these filters:
Filter: Show Incomplete tasks
Apply sorting & formatting:
Sort By: Due Date (Ascending) → Prioritizes urgent requests
Show Columns: Enable ‘Priority’, ‘Assignee’, and ‘Status’
Set as Default Tab so all project members land here first
Save for Everyone
Why it works: Keeps all active requests visible and prioritized for smooth workflow management.
Step 3: Create a ‘👤 My Tasks’ Tab (Personalized View)

Purpose: Allow each team member to focus only on their assigned tasks.
How to set it up:
Duplicate the ‘To-Do’ tab
Rename it to "👤 My Tasks"
Apply these filters:
Filter: Assigned to = Me
Apply sorting & formatting:
Sort By: Due Date (Ascending)
Disable ‘Sort Within Sections’ → Clean task list
Save for Everyone
Why it works: Helps each team member stay focused on their own workload without distractions.
Step 4: Create a ‘✔️ Completed’ Tab

Purpose: Keep track of completed requests for audits, follow-ups, or reporting
How to set it up:
Duplicate the ‘To-Do’ tab
Rename it to "✔️ Completed"
Apply these filters:
Filter: Show Completed tasks
Apply sorting & formatting:
Sort By: Completed On (Descending) → Most recent completions first
Hide unnecessary fields: Remove ‘Created By’ if not needed
Disable ‘Sort Within Sections’ → Clean completion list
Save for Everyone
Why it works: Provides an instant archive of completed work for easy tracking and reporting.
Step 5: Create a ‘⏩ Upcoming’ Tab

Purpose: Show tasks that need action in the next two weeks.
How to set it up:
Duplicate the ‘To-Do’ tab
Rename it to "⏩ Upcoming"
Apply these filters:
Filter: Show tasks due in the next 14 days
Apply sorting & formatting:
Sort By: Due Date (Ascending) → Urgent tasks at the top
Disable ‘Sort Within Sections’ → Clean sorting
Save for Everyone
Why it works: Keeps high-priority, near-term tasks visible for better planning.
Step 6: Create a ‘❗ Overdue’ Tab

Purpose: Quickly surface overdue requests that need immediate attention.
How to set it up:
Duplicate the ‘Upcoming’ tab
Rename it to "❗ Overdue"
Apply these filters:
Filter: Show tasks due before today
Apply sorting & formatting:
Sort By: Due Date (Ascending) → Oldest overdue tasks appear first
Save for Everyone
Why it works: Ensures overdue work is quickly identified and resolved before it becomes a bottleneck.
Step 7: Clean Up Unnecessary Tabs

Purpose: Keep the project workspace streamlined and easy to navigate.
How to set it up:
Remove any unused views, like Workflow, Messages, or Files.
Only keep relevant views for your workflow.
Why it works: A decluttered workspace makes navigation easier and keeps teams focused.
Final Thoughts: Why This Example Setup Works
This Saved View Tab structure is perfect for:
✅ Intake requests (HR, IT, creative requests)
✅ Ticket tracking (support requests, bug fixes)
✅ Content planning (blog posts, newsletters, social media)
✅ Event management (webinars, launches, campaigns)
With this setup, you can:
✔️ Instantly switch between views without reapplying filters manually
✔️ Keep new requests visible and prioritize urgent tasks
✔️ Help each team member focus only on their assigned work
✔️ Easily track completed work and resolve overdue tasks quickly
💬 This is just one example of how Saved View Tabs can be used to structure a workflow. How are you using them in your projects? Let me know in the comments!
Comments